BlueStacks Usage Guide for EVE Echoes on PC - Optimize Your Gaming Experience on Our Android App Player
EVE Echoes, just like its predecessor on PC, EVE Online, is a huge game with tons of different elements, systems, and mechanics at play. More importantly however, it’s a game with a thriving community and a player-driven economy, which is one of the cornerstones of trading, and one of the main styles of gameplay. For those who aren’t interested in trading, there is also combat, both against other players, as well as from completing dangerous bounties; or working in the industrial sector, by taking raw materials and using them to synthesize other products for a living.
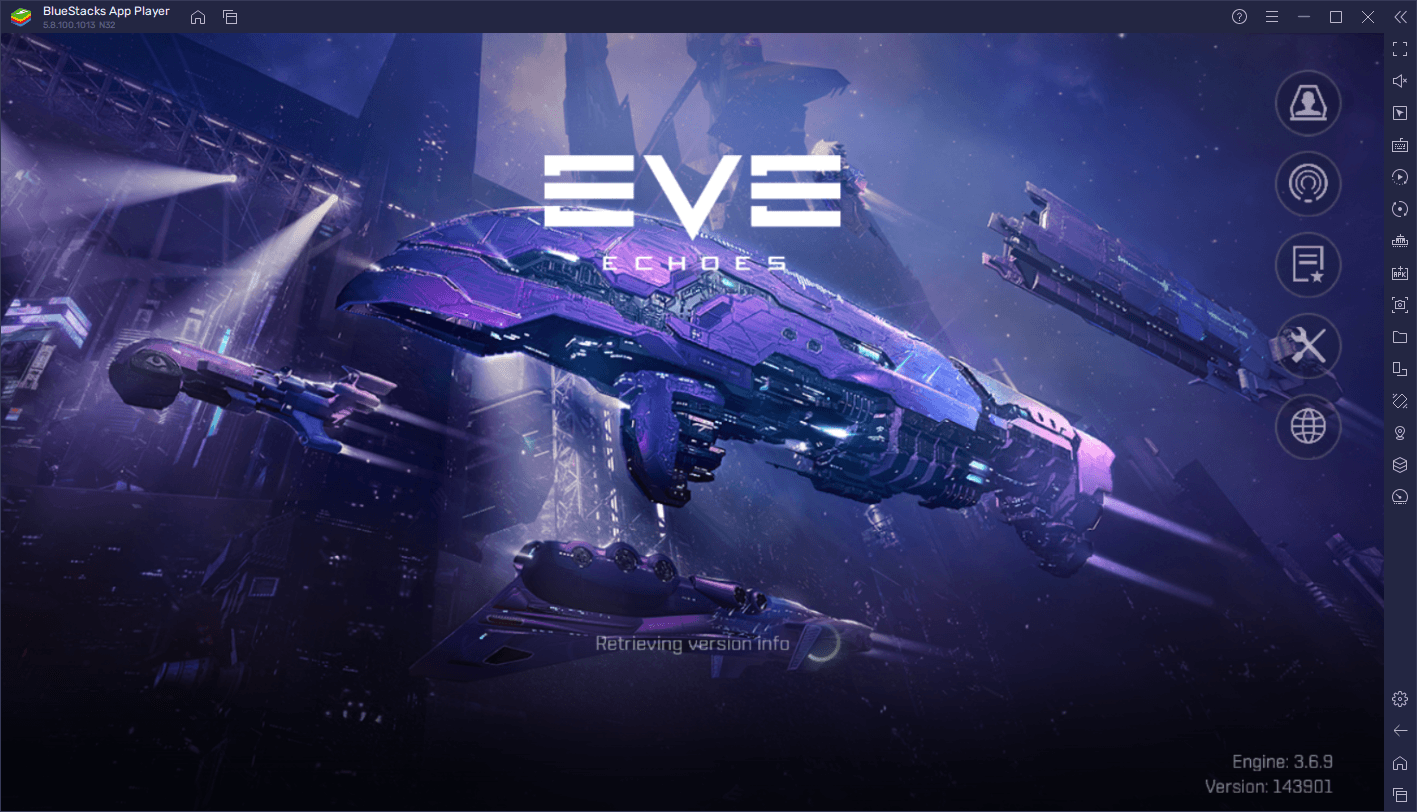
There is quite a lot to do in EVE Echoes, and a lot of different things to see and learn about. In fact, this is probably one of those mobile games that plays more like a console or PC MMORPG, in that you’ll be playing for hours at a time, which can be exhausting for your eyes if you’re gaming on your phone. This is precisely why you’ll definitely want to play EVE Echoes on PC with BlueStacks, at least if you’re looking to get the best experience with this space sandbox MMORPG. Check out our PC setup guide for EVE Echoes if you want to learn more about how to get started.
When it comes to streamlining and optimizing your gameplay, BlueStacks has a lot to offer. However, to get the most out of our Android app player when playing EVE Echoes on PC, you might need to perform a few tweaks and adjustments to your emulator. In this guide, we’re going to give you a brief overview of the most important features for Echoes, as well as how to configure and use them.
Become the Best Commander with Keyboard and Mouse Controls
Those who have played EVE Online before might know how menu-intensive the game can get, with virtually every single mechanic and system accessed through a different panel, menu, or screen of some sort. This means that most of your gameplay will revolve around clicking on buttons and scrolling through item lists and ship specification screens. And while EVE Echoes is more streamlined and accessible, it’s still very much a menu-driven game.
For titles like EVE Echoes, where most of your time will be spent in menus, having proper mouse and keyboard controls can be a godsend for improving your experience. Luckily, this is something that can be easily achieved on BlueStacks using its Keymapping Tool, a feature through which you can create intuitive control schemes using your PC peripherals, which will make it much easier to browse and access the game’s different menus and screens.
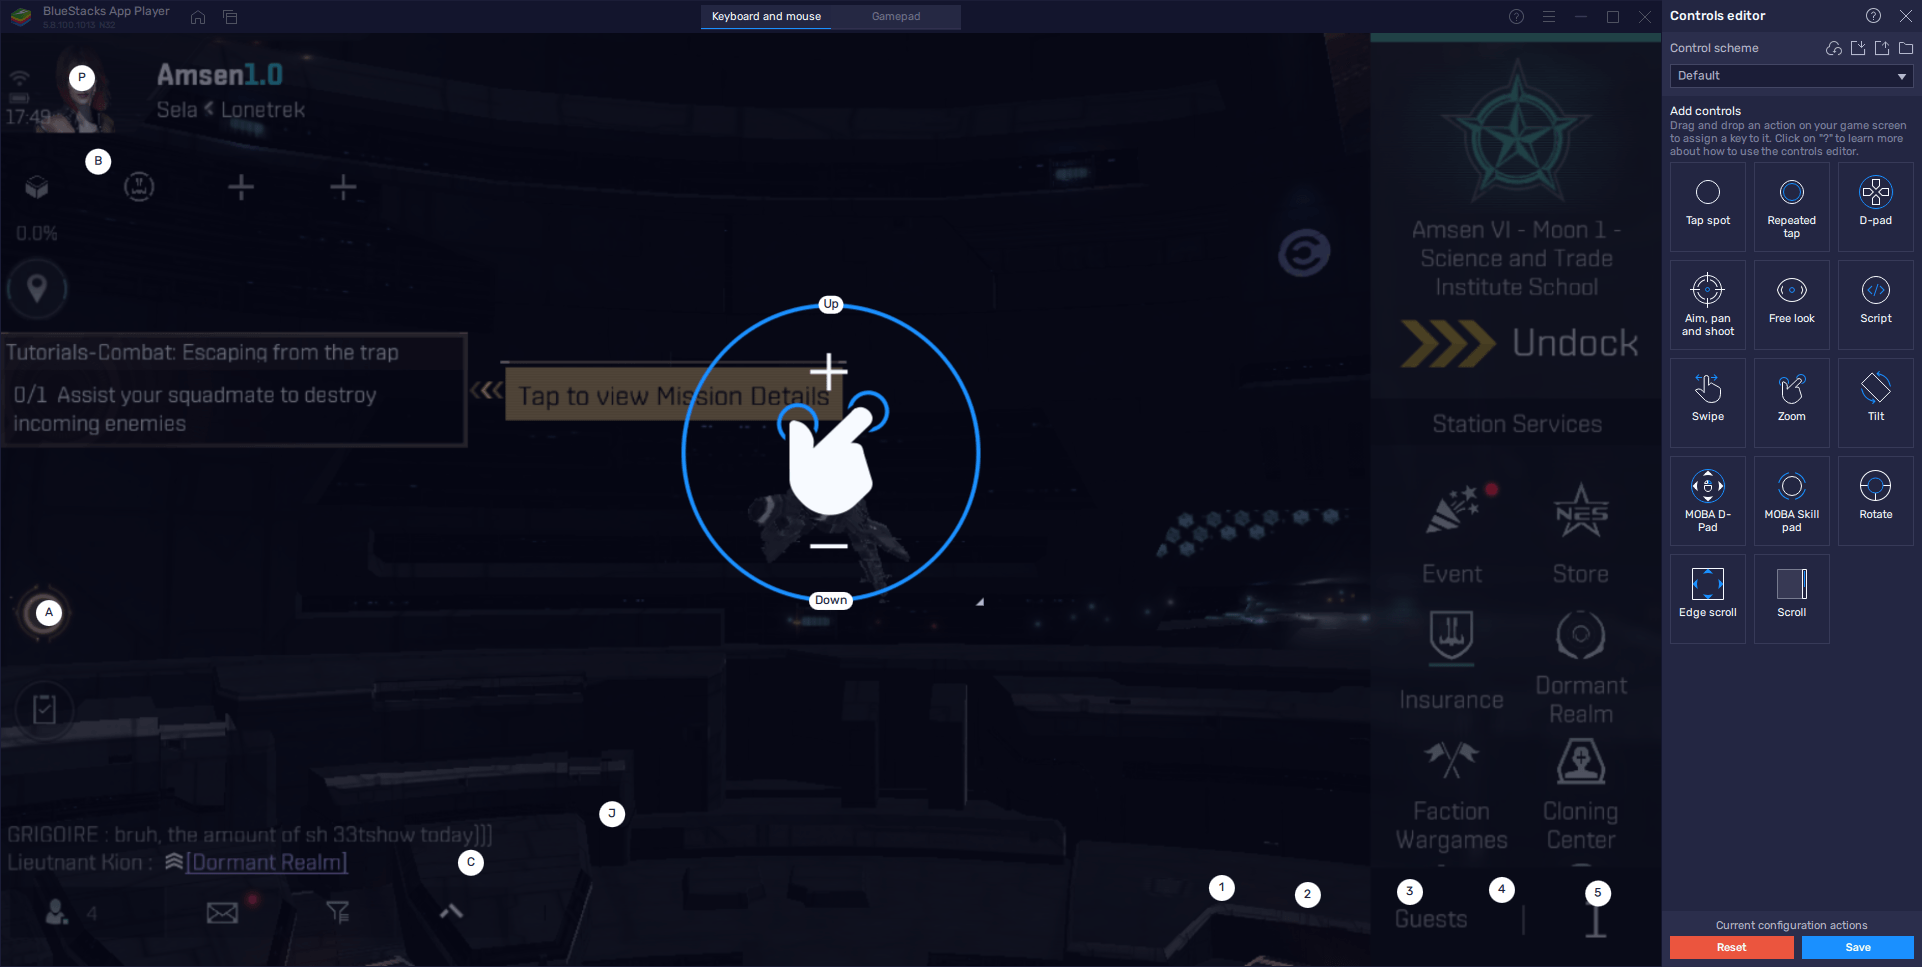
You can access the Keymapping Tool by pressing Ctrl + Shift + A while in-game. This shortcut will open the Advanced Editor component of the tool, through which you can visualize your current bindings, as well as modify them by clicking on them, or add new ones by dragging and dropping them from the panel on the right. Once you’re done adjusting your controls, you can click on “Save changes” on the bottom right to implement your changes, and enjoy EVE Echoes on PC using your mouse and keyboard.
Automate Trade Routes with Powerful Macros
One of the main activities in EVE Echoes is trading. That is, hauling goods from station to station, and then flipping them for profits. However, while finding profitable items to flip is difficult, once you find a good trade, you can continue exploiting the demand for a while, and keep raking in the profits.
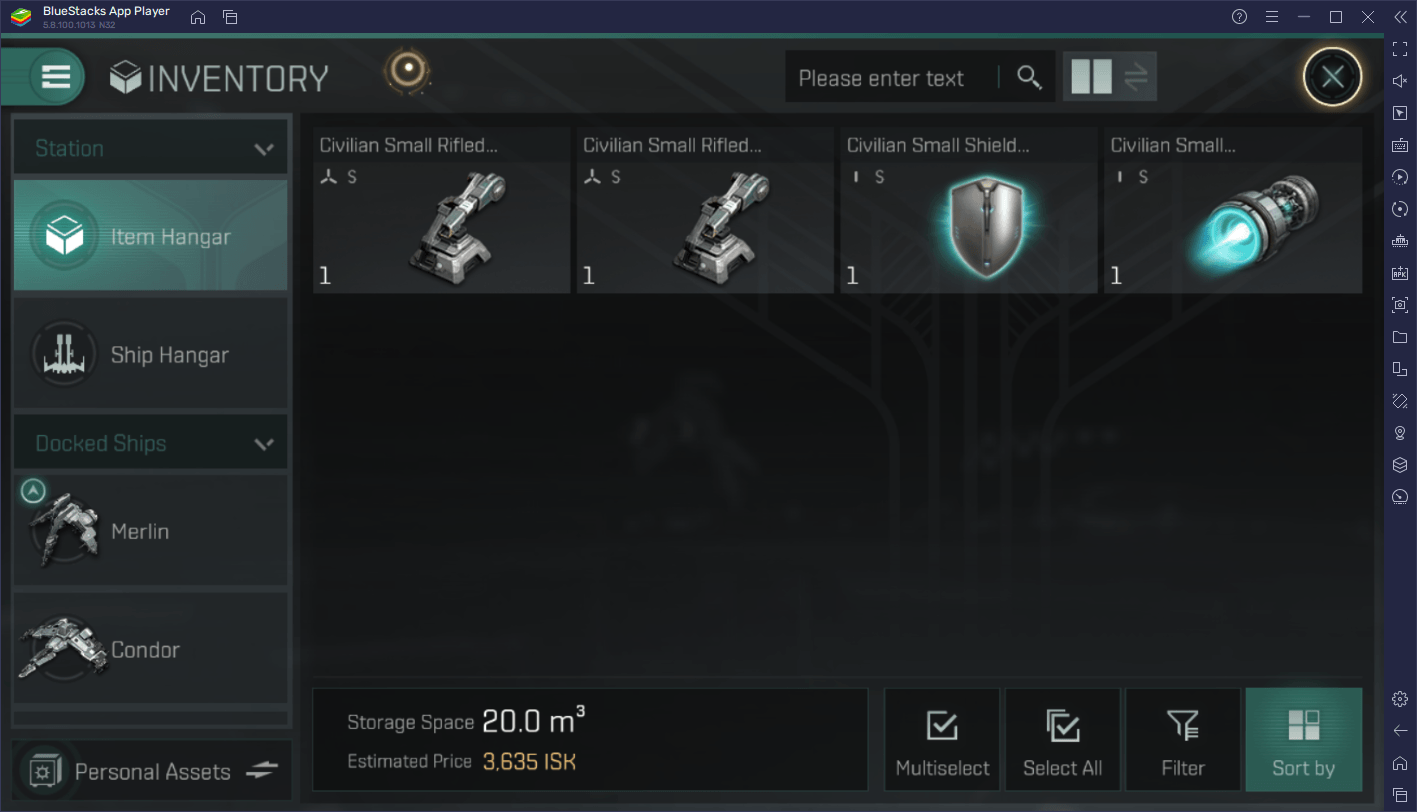
The process of trading, however, requires a lot of back and forth; going from the origin station with the desired goods, to the target station where you’ll offload your haul for profits, and then repeating as many times as you need. This process can get a bit tedious, especially if you’re relying on auto-pilot to get from place to place. Luckily, with the Macro Recorder, you can easily automate this process with the press of a button.
You can access the Macro Recorder by playing Ctrl + Shift + 7. In this panel, you’ll be able to view your created macros, as well as modify their behaviors by clicking on the gear icon beside them. Moreover, to create a new macro, you simply need to click on “Record new macro”, followed by performing the actions you wish to automate. Once you’re done recording, you can click on the stop button above to stop the recorder. It’s important to give your macro an appropriate name, especially in EVE Echoes, so that you know exactly what it does.
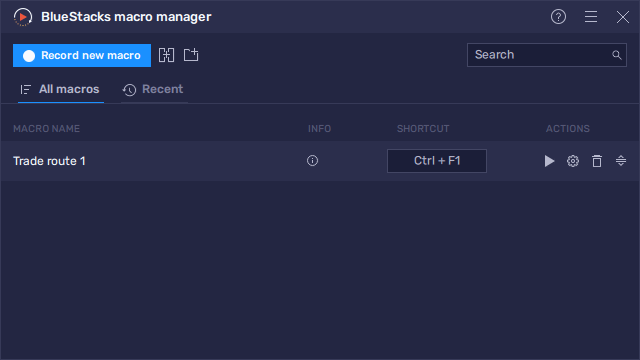
Once you’ve created a macro, you can give it a key binding, which will make it play every time you press the corresponding button. Moreover, by clicking on the gear icon next to it, you can customize its behavior, such as making it loop for as many times as you want. For good trades, you can literally activate your macro, minimize the emulator, and check back in a few hours to check up on your massive profits.
The creativity is the limit to what you can achieve with our BlueStacks macros!
How to Optimize Your Framerate and Graphics
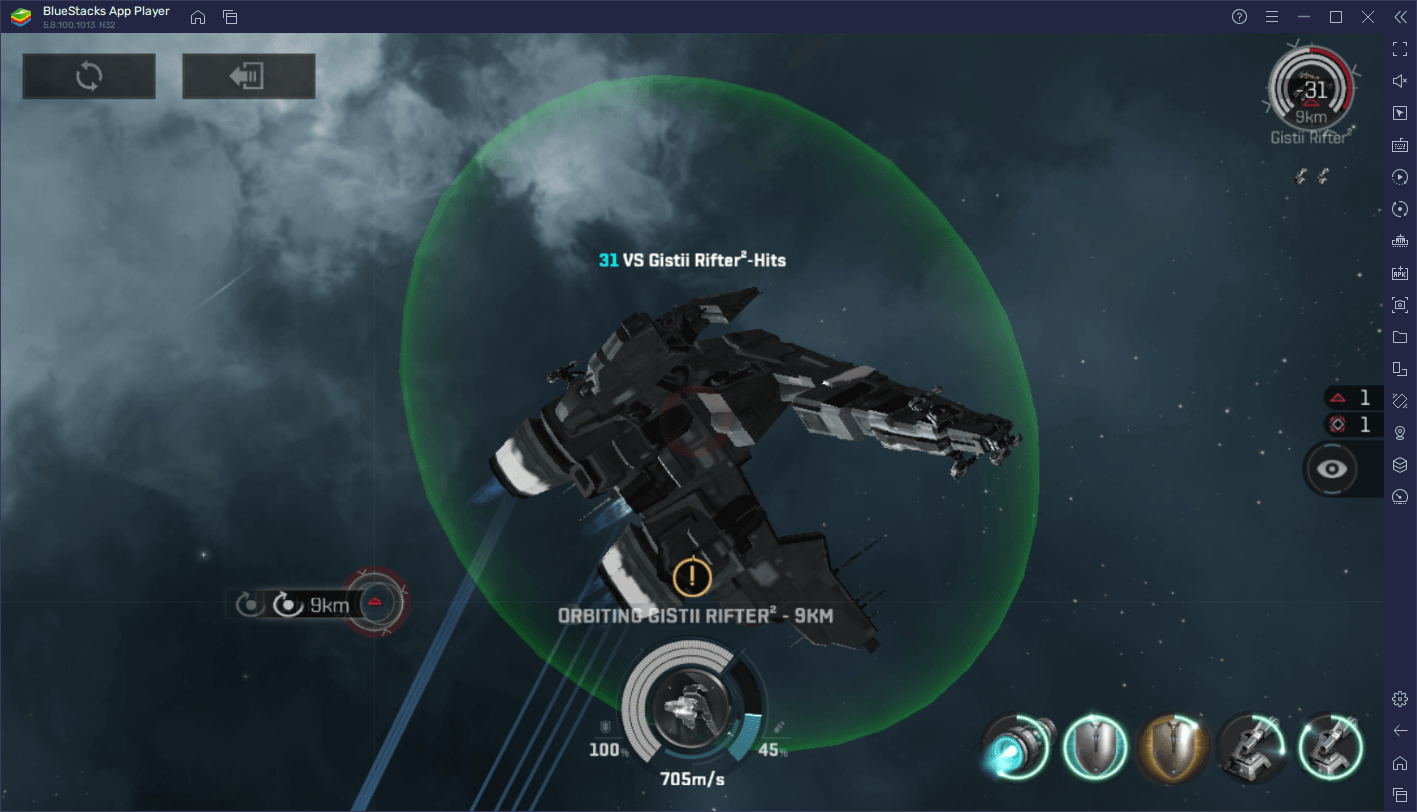
We’re not going to mince words here: EVE Echoes looks absolutely out of this world, no pun intended. This game has some of the prettiest graphics we’ve seen on an app meant to run on mobile devices, which is why only the ones who own the most expensive flagship phones are the ones who can get the best visuals, without suffering from lag or slowdown. However, by playing Echoes on BlueStacks, you can get comparatively good performance, without having to spend a ton of money on a good phone.
Nevertheless, since EVE Echoes has such good graphics, you might still struggle to run it with good performance if your PC is a bit on the older side. Luckily, just like it has nice graphics, Echoes is also vastly customizable when it comes to its visual settings, letting you tweak the image to your exact preferences and requirements. In consequence, even users with low-end machines could, via adjusting these settings, achieve the best possible graphics, without sacrificing on performance.
However, in order to get the best experience, you might need to perform a few other adjustments on your emulator. Here’s a quick breakdown on what you need to do:
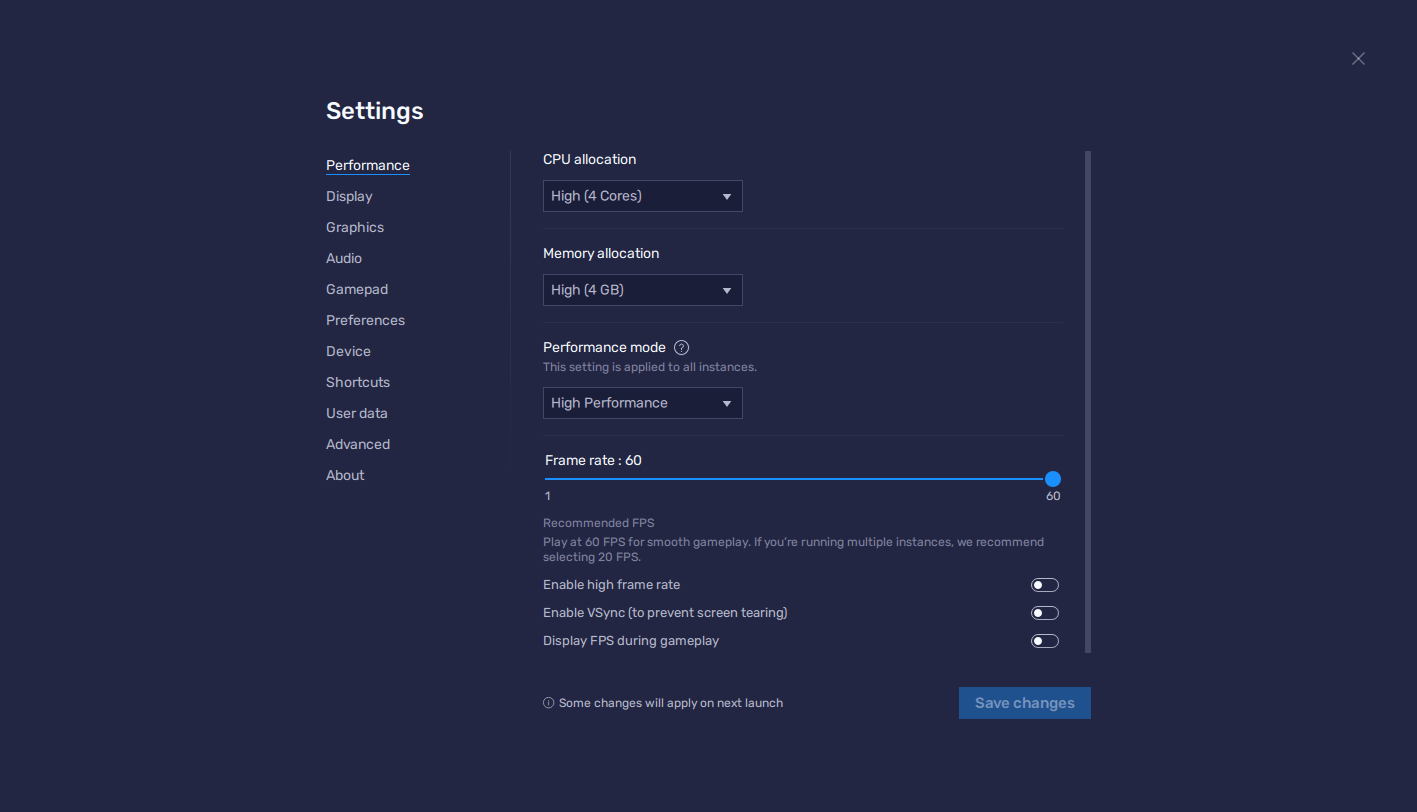
- Go to your BlueStacks settings by clicking on the hamburger icon on the top right, and then navigate to the “Performance” section.
- Check that your emulator has 4GB of RAM, 4 CPU cores, and that the Performance mode is set to “High performance”. Also, ensure that your FPS slider is set to 60, and click on “Save changes” once you’re done.
- Launch EVE Echoes and go to the in-game settings by clicking on your avatar on the top right, and then on “Settings”.
- In the “Graphics” section, you can experiment with adjusting all the settings in this screen to boost your performance at the expense of visual fidelity. Alternatively, if your PC can handle it, you can simply max out all the settings and get the best graphics.
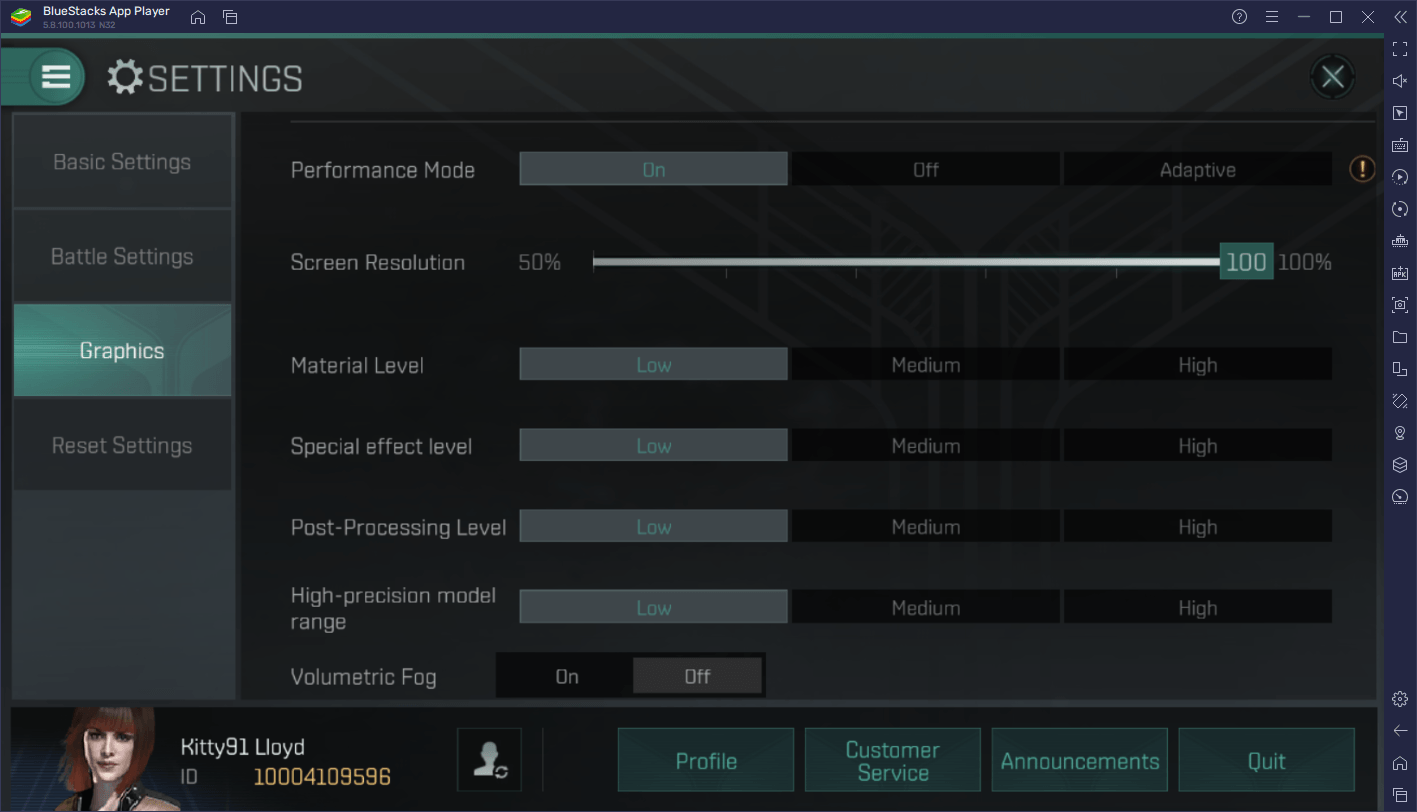
By configuring your BlueStacks correctly, you can ensure that your emulator has enough PC resources to function correctly even when playing the most demanding titles on the market. And by tinkering with the graphical settings in EVE Echoes, you can fine-tune your visuals to your exact preferences, and strike the best balance between graphics and frame rate.
Play on Multiple Accounts at the Same Time
If we’ve made one thing for certain, it’s that EVE Echoes is a MASSIVE game. However, all its gameplay starts with one important decision: Your faction selection.
Before you jump into the game itself, you’ll have to create your character, and also choose your starter faction. And while the former is entirely a cosmetic choice, your faction will actually affect many different aspects down the line, such as the type of ships and technology available to you, your advantages and weaknesses, and even your play style. Because of this, it’s important to think carefully before choosing your faction, as this choice is permanent.
Luckily, with BlueStacks, you don’t really have to choose: If you use the Instance Manager, you can simply create multiple instances of BlueStacks, and install the game on each, which will let you play on different factions simultaneously, without the need for swapping between accounts on the same device. In fact, the Instance Manager lets you play on all your different accounts, and keep each individual client on the screen at the same time.
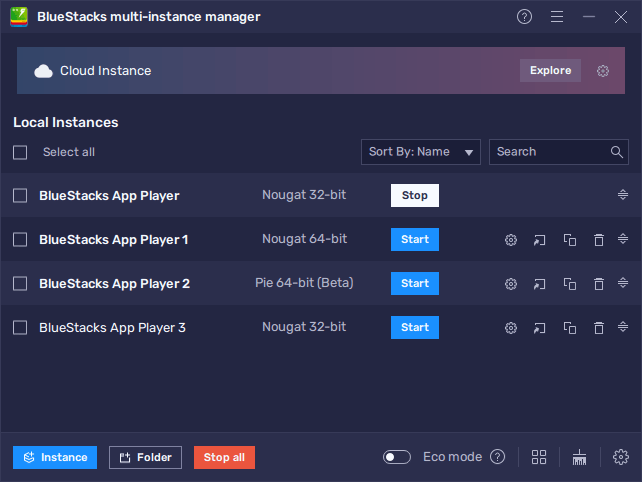
To access the Instance Manager, you can press Ctrl + Shift + 8. In this panel, you’ll be able to view your current instances, launch or close them, edit them, or even delete them. Also, you can click on the “+ Instance” button on the lower left to create as many instances as you want, keeping in mind that for each of these that you’re running at any given moment, you’ll need extra CPU and RAM resources to maintain them. Once you’ve done this, all that’s left is to install EVE Echoes on each, and get started with playing on your multiple accounts at the same time, without having to settle with just one faction.
BlueStacks gives you all the tools you’ll ever need to take your gameplay in EVE Echoes on PC to the next level. Feel free to leave your comments in the section below if you have any questions or thoughts!